

Blueprint
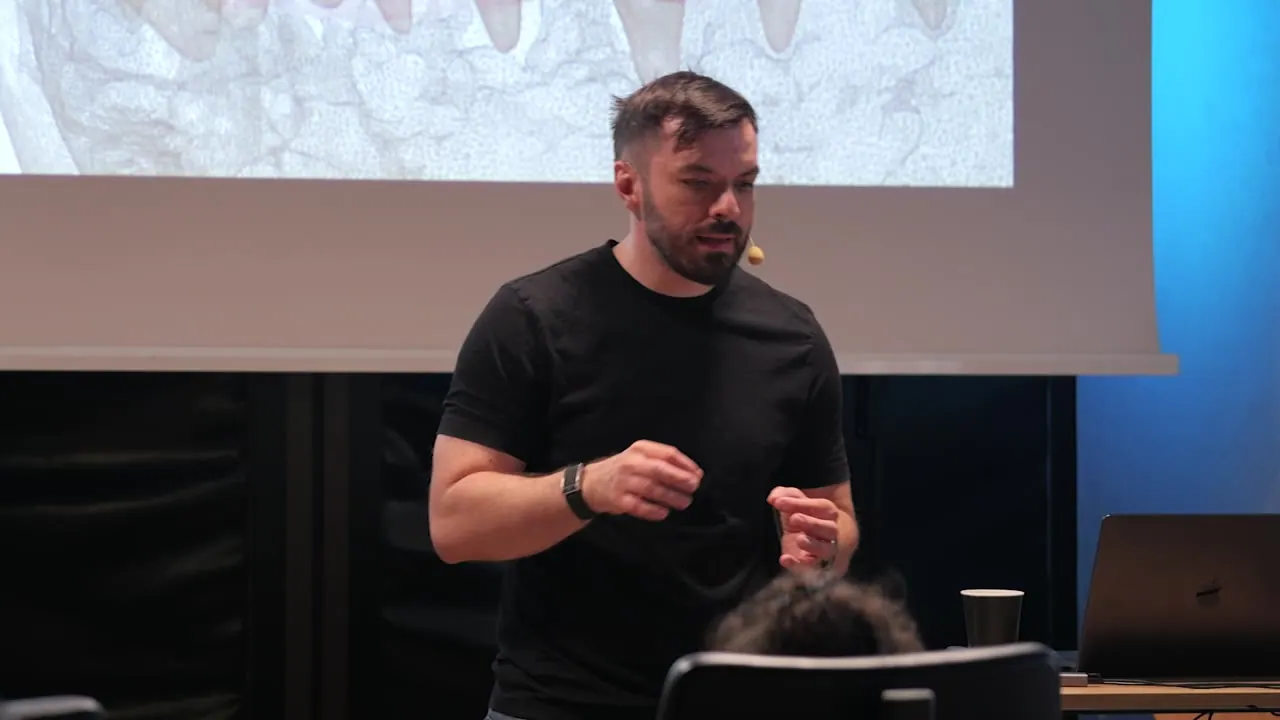
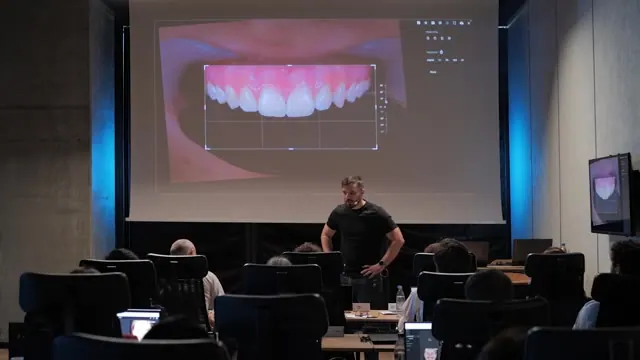
A two-day on-site course on designing the case before treating it: the 2D smile design, then a 3D blueprint that stacks photo, scans, CBCT and motion, and becomes the design every step refers to. Mostly worked in Smilecloud, with clinical cases from consultation to execution.
€360 every 6 months · Log in
Season 1 · 2026 · 20 episodes
Design first, then treat
A class III after orthodontics, with centrals too wide for the arch and too little room for a pontic, is taken from a chairside draft to a 3D blueprint and into the mouth. A full-arch FP1 in a class II closes the course.
- Critical thinking
- Smile design walkthrough
- Blueprint demo
01 Three rules12 min
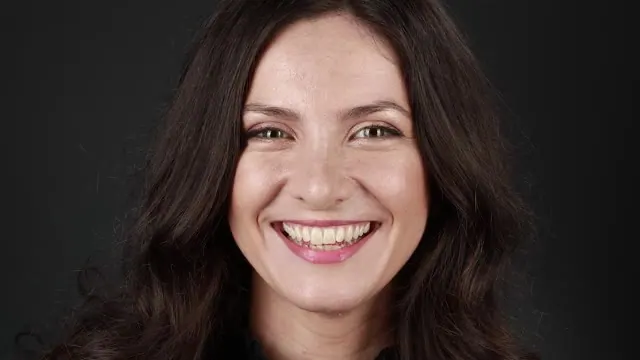
In dentistry we sell, execute and design last; the blueprint moves the design to the start. Bipupillary or glabella to philtrum matters less in digital. A convex curve, central dominance, and the relation between tooth and gingiva, read through the emergence profile.
7 chapters
- What a blueprint is
- The problem before the tools
- Natural smiles and symmetry
- Facial reference lines
- Convex curve and central dominance
- Tooth and gingiva
- Profile and tooth length
02 Feature richness9 min
The papilla sits level with the line angle or slightly palatal. Symmetry only counts between the centrals; nature uses many small asymmetries. In monolithic work the colour is simple, so the geometry has to carry the detail, and every brush, real or virtual, takes some of it away.
6 chapters
- Papilla and line angle
- Three principles, then individualisation
- Symmetry only between the centrals
- How patients read symmetry
- Feature richness
- Geometry carries monolithic work
03 Constraints5 min
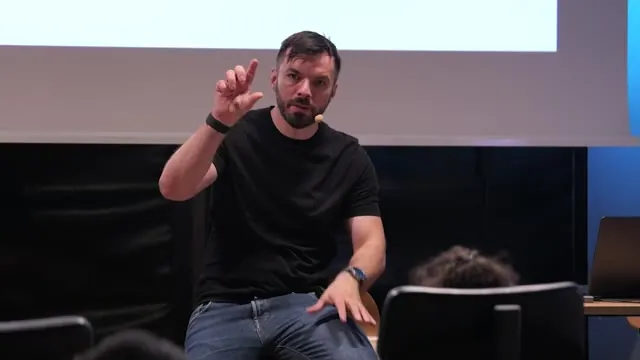
A class III with healthy teeth, treated by two orthodontists, where orthognathic surgery is ruled out. A constraint is what the case cannot touch: teeth, gingiva, tooth movement, skeleton. Skeletal anchorage, extruded molars and a premolar that cannot reach the canine slot.
4 chapters
- A case after orthodontics
- What a constraint is
- Agree the limits first
- Skeletal anchorage and its limits
04 Healthy teeth, wrong size5 min
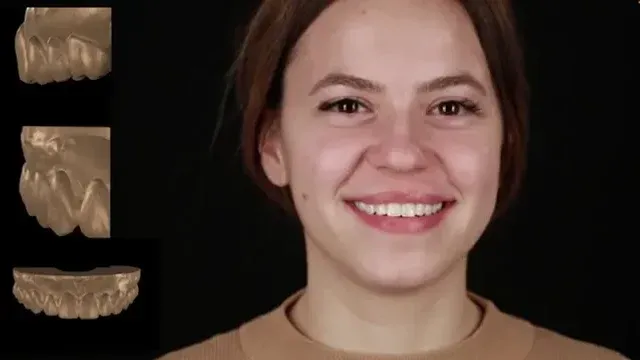
Good orthodontics, healthy teeth, yet the buccal corridors look wrong. The problem is not at the sides: it is the centrals, too wide for this arch. Healthy teeth are not automatically the right size. With ortho finished, only narrowing them is left, and the papilla limits how far.
5 chapters
- Good ortho, poor design
- Why the corridors matter
- Centrals too wide for the arch
- Options left after ortho
- A design that can be executed
05 Arguments converge10 min
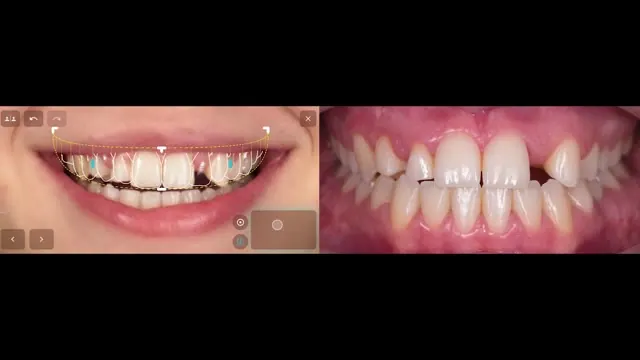
In a class III, the incisal edge is read as function: half a millimetre to one millimetre of overbite. Each decision is weighed by its aesthetic, functional and biologic arguments, and by what to do when they disagree: the budget, a lower arch left untouched, a deciduous tooth that stays, flared incisors and a tooth shape that has to fit the papilla.
7 chapters
- Incisal edge as function
- When arguments converge
- Gingival level as biology
- Constraints in this case
- Keeping the deciduous tooth
- Flared incisors
- Shapes that fit the papilla
06 Design as intent6 min
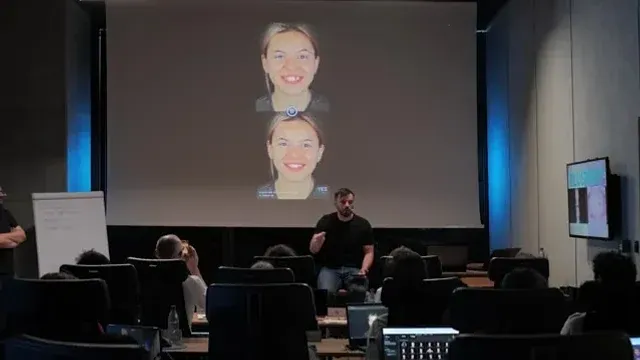
The patient documented, sent for a coffee, and a draft made in five minutes. The draft shown as intent, with the problems, without promises. The first layer of the cake: what can be touched, gingiva, which teeth, skeleton, before any scan or wax-up is ordered.
5 chapters
- A draft in the same appointment
- Design as intent
- The first layer of the cake
- Problems, then the plan
- Constraints before the lab
07 Identity9 min
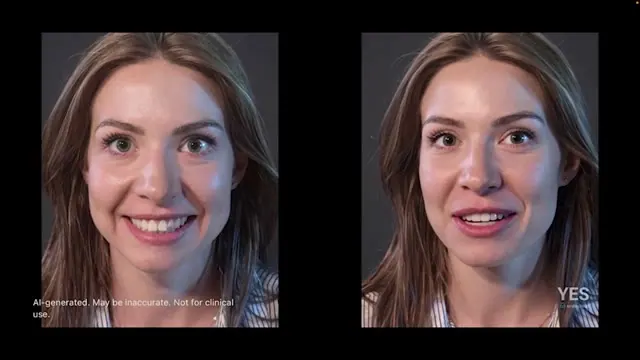
A photo of a volunteer from the group, portrait enhancement, and a design made live. Why fast iteration replaces the motivational mock-up. Patients who want themselves and patients who bring a picture: here the line-angle architecture is kept, the edges filled, the canine wear left.
6 chapters
- Portrait enhancement live
- Why not a motivational mock-up
- Fail fast
- Aesthetics versus identity
- Designing for identity
- Reading what patients hide
08 Restorative space7 min
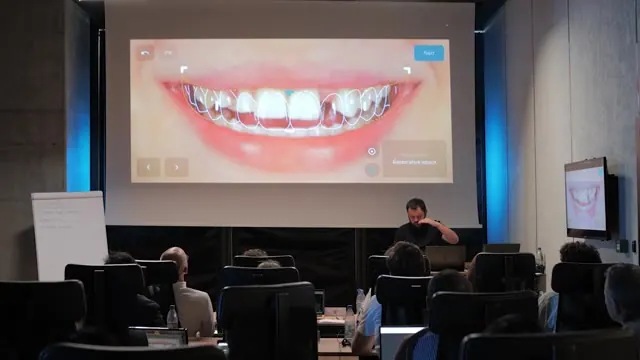
Paul starts the smile design on the phone: a starred photo, the lip contour, then the restorative space moved until its incisal edge meets the natural one. Symmetry on or off for each corridor, the smile curve through control points, and no shapes chosen yet.
5 chapters
- Starting a project on the phone
- Photo and lip contour
- Placing the restorative space
- Symmetry on or off
- Smile curve control points
09 Shapes in 2D7 min
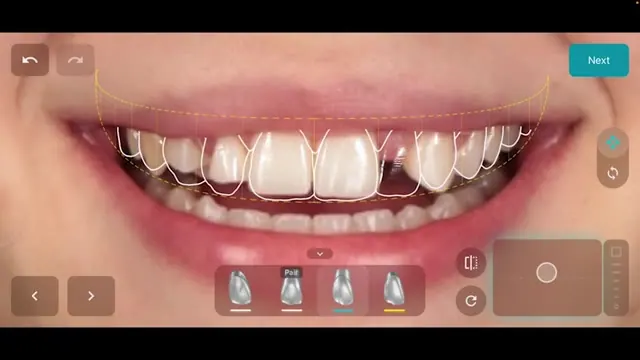
Shape, scale and rotation for each tooth, starting with a pair of centrals. The scale stays when the shape changes, and the shapes are 3D objects that can be turned to look wider. Accuracy drops towards the premolars, where the buccal slope is already function.
6 chapters
- Tooth editing tools
- Starting with the centrals
- Rotating 3D shapes
- Laterals and fit indicators
- Limits towards the premolars
- Leaning into asymmetry
10 The stack11 min
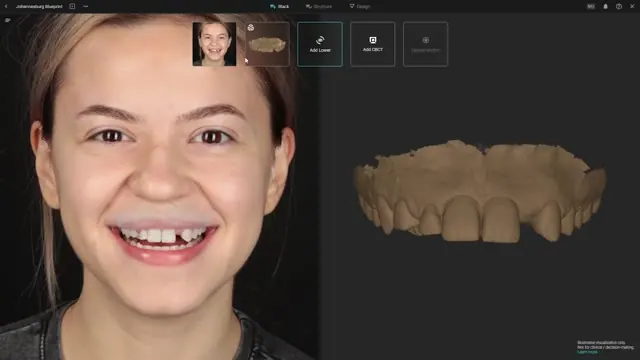
The blueprint is opened from the smile design, on a PC. The upper scan is aligned to the photo with widely spread points, the lower only by rotation, then a full CBCT of both arches. Structure tab for reshape, remove and relabel, and the teeth placed first in occlusal view.
7 chapters
- Creating the blueprint
- Aligning the upper scan
- Lower scan and CBCT
- Structure tab
- Placing teeth in occlusal view
- Shapes from 2D to 3D
- Roots before gingivectomy
11 Roots decide17 min
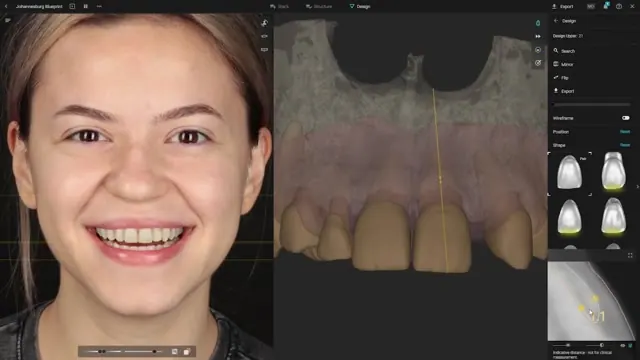
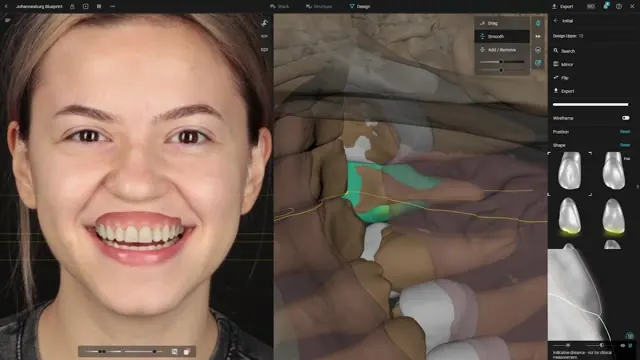
The incisal level matched again on the portrait with guidelines. In a cross-section with the CBCT, about 3 mm of gingiva and angled roots; the straightest root sets the profile for the rest. Root plasty to free the pontic space, and a compare project against the 2D design.
9 chapters
- Matching the incisal level
- Reading the roots on the CBCT
- Root plasty for the pontic space
- A retractor view from the lip contour
- The straightest root sets the profile
- Does the tissue need support
- Comparing with the 2D design
- Rotate or change the shape
- Hiding the gingiva
12 Support the tissue13 min
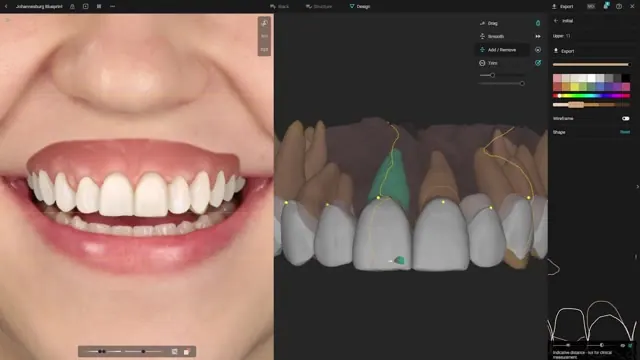
Brushes used behind the transitional lines to connect each shape to its root. A wider cervical profile on one central so the gingiva does not collapse, support mesial, distal and buccal for the papillae, a zenith moved distal, and a premolar prepped deeper to keep the corridor.
8 chapters
- Brushes behind the transitional lines
- A wider profile on one central
- Moving the zenith distal
- Support mesial, distal and buccal
- A gentler profile on the canine
- A deeper prep on the premolar
- Premolars and papilla support
- Changing a shape late
13 Prep on screen11 min
The prep simulated on the natural teeth with the CBCT underneath, veneers and one crown. The heat map cleans interferences, an ovate pontic is shaped. Generated motion shows the guidance moved from the premolars to the canine, matching what the recorded motion showed before.
6 chapters
- Simulating the prep
- Veneers, one crown and a shallow bite
- Cleaning the occlusion with the heat map
- Shaping the ovate pontic
- Guidance moved to the canine
- Recorded and generated motion
14 Zero or chamfer12 min
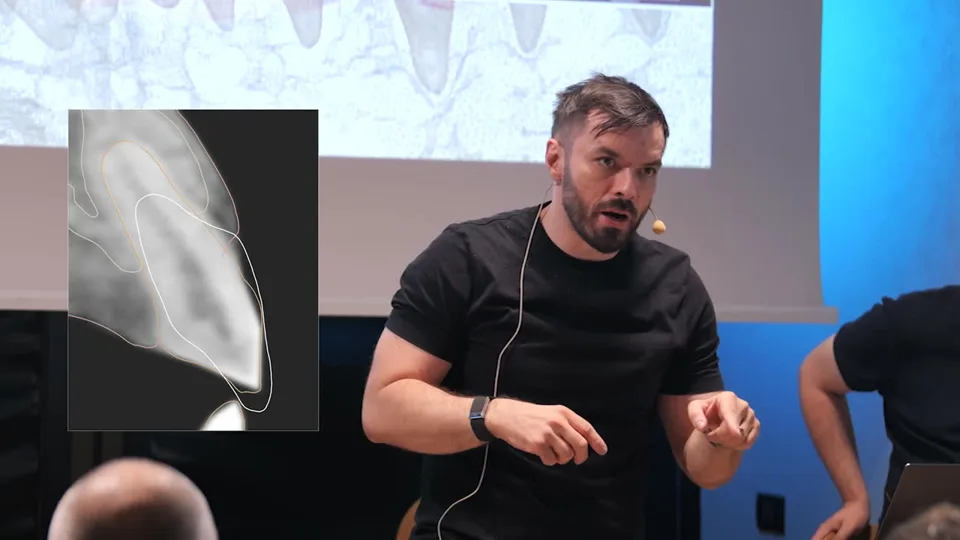
The profile in two parts: the emergence angle and the transmucosal part that holds the tissue. A lateral needing a margin 1.6 mm under the tissue gets a vertical prep. A copy of the blueprint with teeth set to align for the orthodontist, then the clinical result: Maryland with pontic and a buccal graft.
6 chapters
- Two parts of the profile
- Zero or chamfer
- Prep each tooth to its design
- A copy for the orthodontist
- Copying the design in CAD
- Maryland with pontic and graft
15 Prosthetic intent7 min
One design, exported to implant and aligner planning. Every tooth starts as a pontic, then stays one, gets an implant or is prepped. Implants placed before ortho give anchorage, a reference for aligning scans and less room for error, because only closing a space is precise.
4 chapters
- One design, many exports
- Every tooth starts as a pontic
- Implants before orthodontics
- Disciplines active at the same time
16 Copy into the mouth11 min
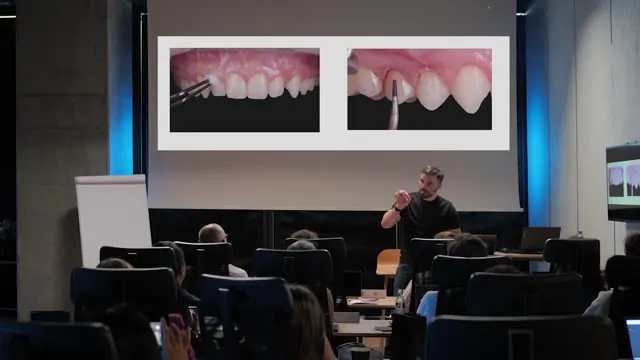
Tissue guides, because freehand means more heat and more necrosis. Always flapless first. Pre-prep with a 0.6 mm heat map and a flame bur, starting vertical, scanning and realigning two or three times. Root plasty compared with BOPT, then the chamfer drawn with a pencil through the same guide.
7 chapters
- Recap of the design steps
- Why tissue guides
- Always flapless first
- Pre-prep with the heat map
- Root plasty compared with BOPT
- Drawing the chamfer through the guide
- One reductive session
17 The worst papilla7 min
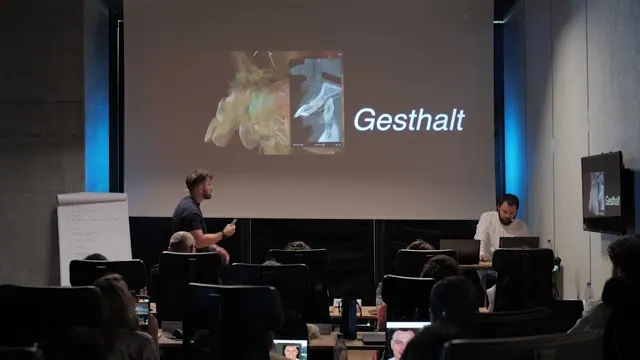
A full-arch FP1 in a class II, where the interincisal papilla sets the level. Planning on an STL with the teeth deleted works on the layer that changes most. Teeth placed against bone with the tissue hidden, and set 1.5 mm infra wherever no graft is planned.
5 chapters
- A full-arch FP1 case
- The worst papilla sets the level
- Planning beyond the STL
- Graft or set the teeth infra
- Teeth against the bone
18 Lip competence12 min
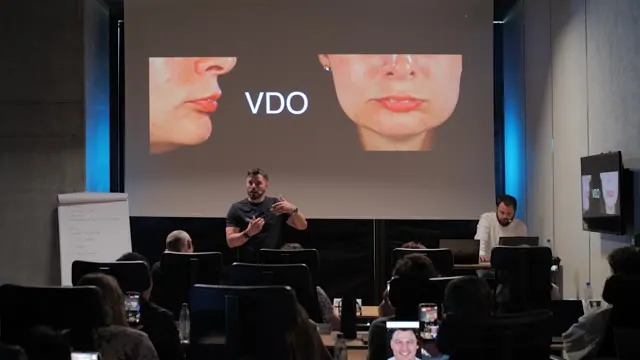
No number for the vertical dimension: open for space and for the skeletal relation, a class II improves closing, a class III opening. The limit is lip competence. A Kois deprogrammer to bring in the patient's proprioception and to tell muscle pain from joint pain.
8 chapters
- No magic number
- Class II closes, class III opens
- Lip competence as the limit
- Passive restorations
- Why FP1 suits a class II
- The anterior deprogrammer
- Open on the splint, close in software
- A reproducible position for surgery
19 Full arch on the bone13 min
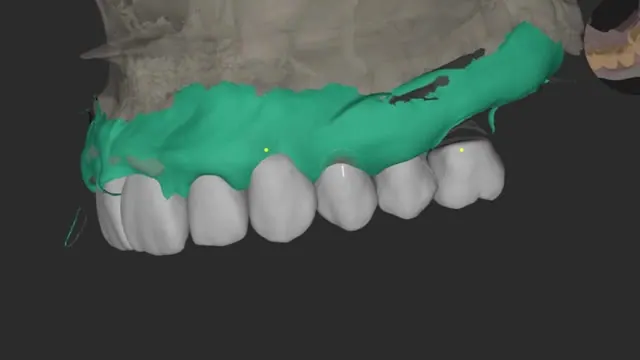
Paul removes the teeth and sets the design on the alveolar ridge, with the face and the worst papilla as references. Open and collapse simulated on the sagittal section. Scans miss elasticity, so the arch is split into three-unit bridges, and outside designs can come in as a signature project.
7 chapters
- Keep a reference before removing
- Teeth on the alveolar ridge
- The worst papilla as reference
- Export to guided surgery
- Open and collapse on the section
- Three-unit bridges
- Outside designs as a signature project
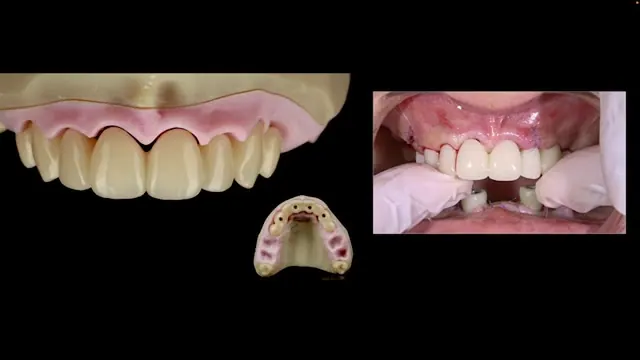
20 Design guides healing12 min
Chlorhexidine and an SLS-free paste a week before. Three teeth kept to seat the guide, scanned before they are extracted. The heat map between design and bone for the provisional, a 72-hour window if the bite is off, short scans, and a horizontal transmucosal profile for shrinkage.
8 chapters
- Clean the case first
- Teeth as provisionals for the sites
- Three teeth hold the guide
- Heat map between design and bone
- When the bite is off
- Short scans and two models
- Prototype, then a second provisional
- A horizontal transmucosal profile
Watch Blueprint and the whole library
One pass, €360 every 6 months: every Dentcof series and season, on any device. Cancel anytime.
Already a member? Log in