

Signature Workflows
Perio and prosthetics planned together, with crown lengthening, anterior implants, grafting and restorations done live in the same session.
€360 every 6 months · Log in
Season 3 · 2026 · 11 episodes
Prosthetic-first anterior rehabilitation
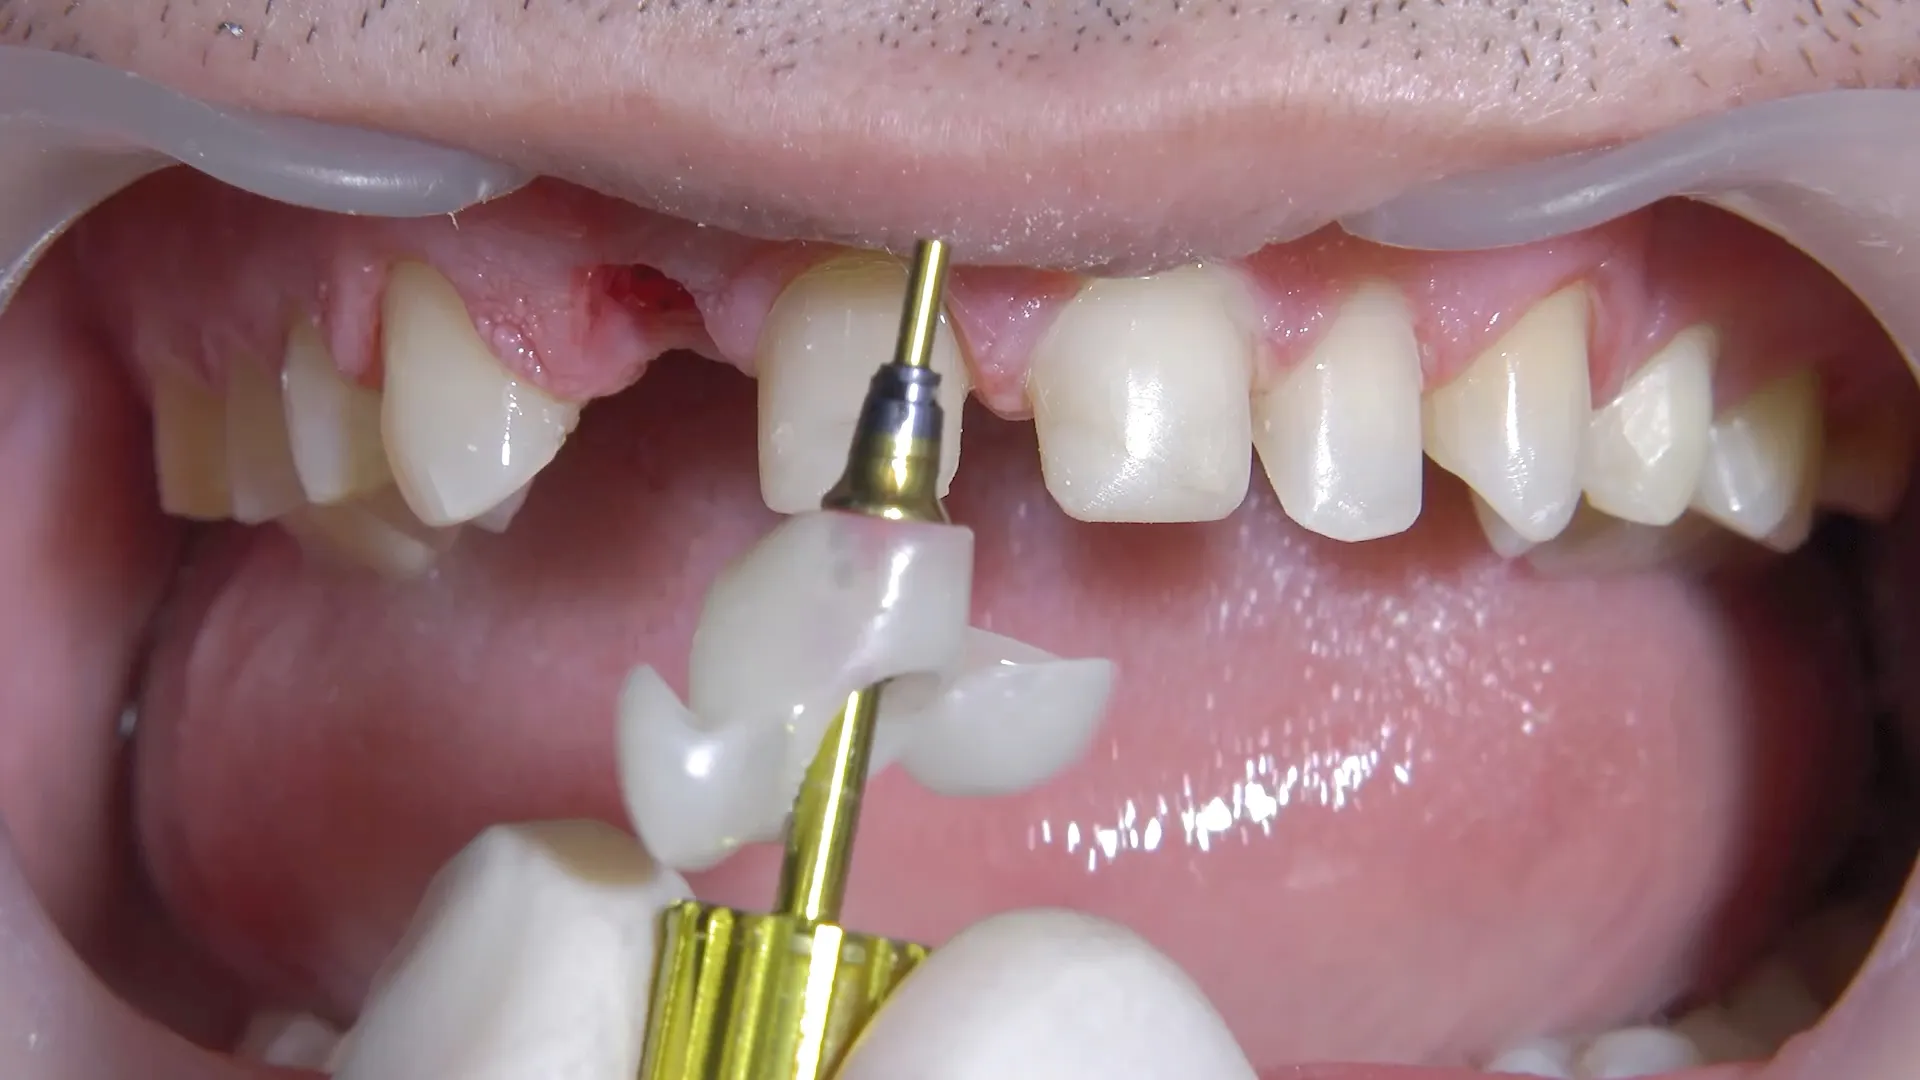
A fractured 11 replaced by an immediate BLX, the 21 retreated and kept, and a thin palatal graft tunneled in under a screw-retained PMMA provisional.
- Root copied from the CBCT
- Graft 1 mm thick, no epithelium
- First BLX with Straumann iGuide
01 Design first18 min
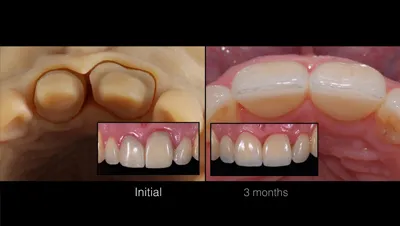
Eric van Dooren's two-day case: Gabi Lascu designs the two centrals first, the abutments are copied, and a printed guide trims the excess root; the graft adds only what is missing. Then Gustavo's four pillars.
10 chapters
- A case with two days
- Design first, then copy the abutments
- A guide to trim the root
- Trimming the excess root
- Bonding the final crowns
- Graft only what is missing
- One design for every discipline
- A surgeon guided by the prosthesis
- Four pillars for immediate implants
- Prosthetic design from the root
02 Copying the root17 min
From an analog root copy, with impression, model and jig, about six hours of work, to a digital copy taken from the CBCT. Then Gustavo's checklist for an immediate implant: palatal and apical bone, and no more than 4 mm of recession.
11 chapters
- Copying the root by hand
- Transferring with a jig
- Critical and subcritical contour
- The cost of the analog route
- Copying the root from the CBCT
- A failing central
- Checklist one: bone
- Checklist two: soft tissue level
- Attention points, not contraindications
- Keep or change the tissue level
- From mock-up to a design video
03 Choosing the graft19 min
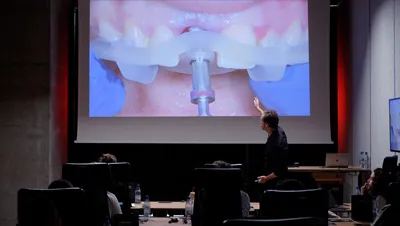
Gustavo on the graft. Bigger is not always better: a thick, fibrous graft can turn into scars, color changes or cysts years later. A thin, epithelium-free graft from the palate for small defects, tuberosity tissue for real reconstructions.
9 chapters
- Files for guided planning
- Extraction and primary stability
- Filling the gap and the tissue
- Bigger is not always better
- Problems from thick grafts
- Compensate or reconstruct
- Matching the graft to the defect
- Excluding the epithelium
- Deeper palate and tuberosity
04 The palatal harvest18 min
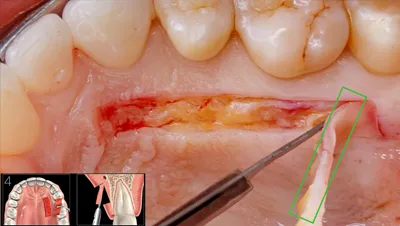
What goes wrong when epithelium stays on a palatal graft: white tissue, invaginations, cyst-like lesions that are hard to fix. Gustavo's answer is to de-epithelialize with a round bur until the bleeding is uniform, then harvest about 1 mm of lamina propria.
8 chapters
- Correcting an overgrown graft
- Linear technique and skill
- Reading the palate with the needle
- Blade or bur
- When epithelium stays
- De-epithelializing with a round bur
- Harvesting the lamina propria
- Orienting the graft
05 Healing by design18 min
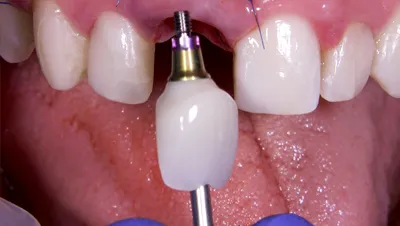
The donor site is closed with sutures and a collagen sponge, and Monica's case is finished with a crown that keeps the provisional's critical contour. Then Adrian's veneers, prepped to leave the root exposed, and a modified VISTA tunnel for the graft.
10 chapters
- Closing the donor site
- Protecting the palate
- Back to the failing central
- A provisional that copies the root
- Three months later
- Keeping the contour in the crown
- Cementation and the result
- Adrian's veneer try-in
- When to graft
- A modified VISTA tunnel
06 Sutures and frenum14 min
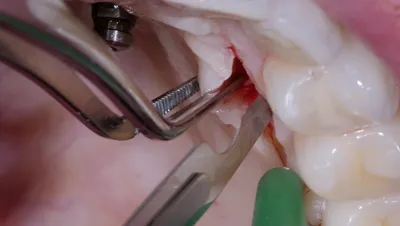
The graft goes through the tunnel and is held with trapezoidal sling sutures that avoid compression around the veneers. Adrian asks for a graft at the centrals too; Gustavo does only the frenectomy and leaves the graft for later, if needed.
6 chapters
- Harvesting the graft
- Through the tunnel
- Closing the vertical access
- Trapezoidal sling sutures
- Last suture and review
- Frenectomy, not a second graft
07 Save or replace11 min
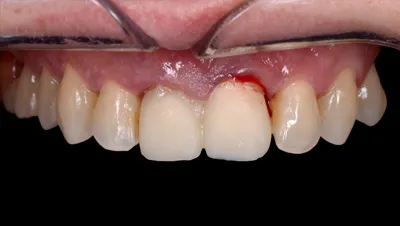
A new patient with a fractured 11 and a periapical lesion on the 21. The 21 gets a new root canal, a post and a crown, the 11 an immediate implant, after a week of antibiotics and a design done first.
10 chapters
- Save or replace
- Retreatment and a milled post
- Antibiotics before surgery
- Design before the extraction
- Crown lengthening and prep of the 21
- Leaving the 11 unprepared
- The provisional sequence
- Files that match
- Planning in coDiagnostiX
- The ideal position
08 Planning the guide11 min
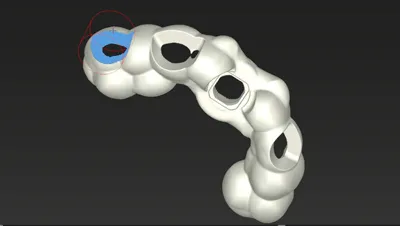
Planning in coDiagnostiX: the CBCT, the scan of the preps and the final design aligned, and a BLX placed about 4 mm below the future margin with a 2 mm gap. Then the guide for Straumann's new iGuide kit and a check of the ti-base.
7 chapters
- Aligning three files
- Choosing the position
- Designing the guide
- Checking the ti-base
- The new surgical protocol
- Drilling for the bone quality
- Checking the guide fit
09 The extraction8 min
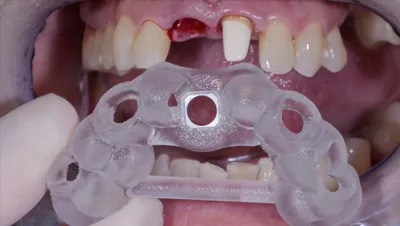
Gustavo extracts the fractured 11 without pushing the root against the thin buccal wall, then irrigates the infected site with plenty of saline. The new iGuide sleeves next to the old ones, and the first drills: metal on metal, no handles.
5 chapters
- Four pillars in practice
- Extracting the fractured 11
- Cleaning the infected site
- Old and new sleeves
- The first drills
10 The first iGuide implant9 min
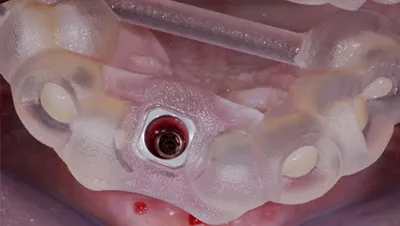
The 3.75 by 12 mm BLX goes in at 30 to 35 Ncm and is scanned. Then a palatal graft with the linear incision technique: about 10 mm long, 4 to 5 mm high, 1 mm thick.
4 chapters
- Placing the BLX
- Scan and the 21 provisional
- Sizing the graft
- Linear incision harvest
11 Into the tunnel10 min
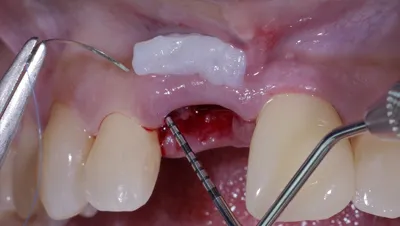
The graft is trimmed to pure connective tissue and slid into a tunnel made with a micro blade and tunneling instruments, with no tension. Biomaterial fills the gap, and the screw-retained PMMA provisional goes in to shape the tissue.
6 chapters
- Trimming the graft
- Instruments for the tunnel
- Opening the tunnel
- Suturing the graft without tension
- Biomaterial in the gap
- Screw-retained PMMA provisional
Season 2 · 2025 · 5 episodes
Tissue grafts and immediate implants
A mobile restoration and pink ceramic behind a minor aesthetic complaint, then the Season 1 patient back for the central: an immediate guided implant, grafted under the papilla.
- Palatal graft through a printed guide
- Milled fiber post from a scan
- Graft slid under the papilla
01 The real issues13 min
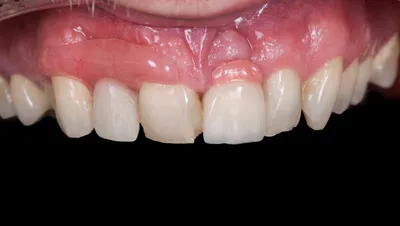
From outside it looks like an easy aesthetic fix. Intraorally, Florin finds the real issues: a mobile restoration over one implant, pink ceramic on another. Then the plan, a milled fiber post, and a guide that shows where to harvest the graft.
9 chapters
- The real issues
- Documentation and mock-up
- The roll flap at the lateral
- A milled fiber post
- The design and the plan
- Tissue guide and preparation
- Designing the graft guide
- Palatal thickness from the DICOM
- Choosing the graft technique
02 The palatal graft guide13 min
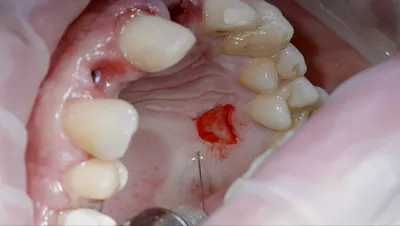
Gustavo harvests a free gingival graft from the palate through a printed guide, de-epithelializing it with a round bur in place. Before that, he opens the pouch over the implant with a bent micro blade.
8 chapters
- Anesthesia and the tissue guide
- Instruments for the pouch
- Opening the pouch
- A VISTA option near restorations
- Checking the space
- Palatal anesthesia and safety zone
- De-epithelializing through the guide
- Harvesting the lamina propria
03 Suture and cementation9 min
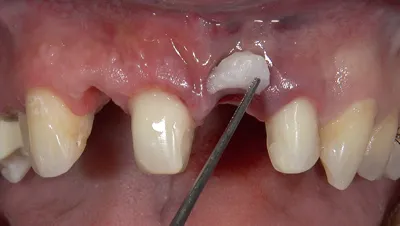
Gustavo and Marcelo close the donor site with a cross suture and a collagen sponge, then suture the graft into place. The upper arch is cemented next, so the healing follows the design.
3 chapters
- Closing the donor site
- Orienting the graft
- Pulling the graft into place
04 A patient from Season 1 comes back16 min
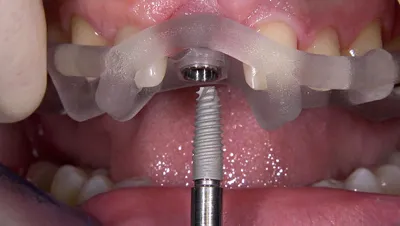
One year later, the Season 1 patient is back. Florin explains why the two neighboring teeth were extracted a year apart: to keep the papilla between the implants. Gustavo extracts the 1.1 and places an immediate guided implant.
10 chapters
- One year after the lateral
- Why the central comes out
- Intruding the maxilla
- A lesson on root resorption
- Keeping the papilla between implants
- A gentle extraction
- The guide and its fit
- Guided drilling
- Placing the implant
- Checking position and scanning
05 Grafting the immediate implant12 min
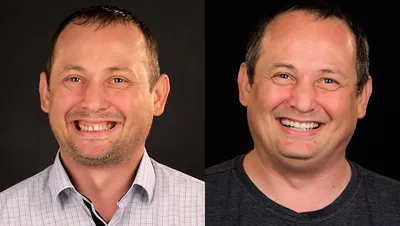
Gustavo harvests a thin graft with the double incision technique, slides it into a pouch under the papilla and packs biomaterial into the gap. A PMMA provisional on a ti-base then takes over the healing.
7 chapters
- Double incision harvest
- A pouch under the papilla
- Placing the graft
- Packing the biomaterial
- From surgery to healing
- PMMA provisional on a ti-base
- Letting the design shape the tissue
Season 1 · 2023 · 12 episodes
Intruded maxilla with compromised laterals
After orthodontic intrusion of the maxilla, a lateral with root resorption is replaced by a guided implant and the other teeth are restored to one design.
- Two cases that went wrong
- Guide seated on fresh preps
- Provisional chairside, 15 min
01 Bad news first20 min
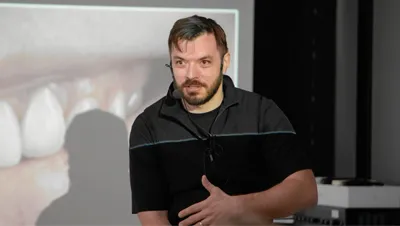
A patient with missing laterals, finished elsewhere after three and a half years of ortho and implants placed by bone alone. Florin and Gustavo show what went wrong: no shared design, only the problem referred.
8 chapters
- Preserve rather than rebuild
- Prosthetically guided healing
- A case treated without a plan
- Where the problems began
- Reading the initial photos
- No shared end result
- Centralised case data
- Refer a design, not a problem
02 More bad news21 min
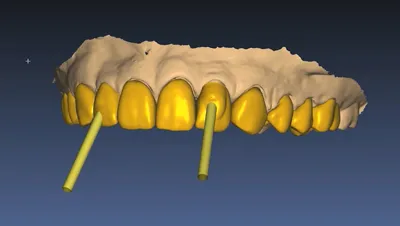
How those limitations land on the lab: an implant angle that rules out screw retention, a component ground to the minimum, and a crown stained against the veneer next to it to match the color.
9 chapters
- From virtual design to printed model
- Pink composite in the mock-up
- Bringing the surgeon into the case
- What the surgeon looks for
- The unknown implant position
- When the implants limit the design
- Thinning every layer
- Veneer next to an implant crown
- Try-in before grafting
03 The art of compromise19 min
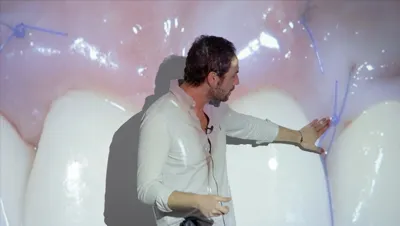
Grafting before bonding: Gustavo tunnels and places the graft with the ceramics only tried in, then the team cements. The result is good, and Florin shows where the existing implants forced a compromise.
9 chapters
- Why the ceramics are not bonded first
- Harvesting the graft
- Tunnelling with a mini blade
- Placing and stabilising the graft
- Cementation under rubber dam
- Coronal sutures and contact points
- Partial or full thickness
- Result and compromises
- Limits of a retreatment
04 Breaking down the essentials21 min
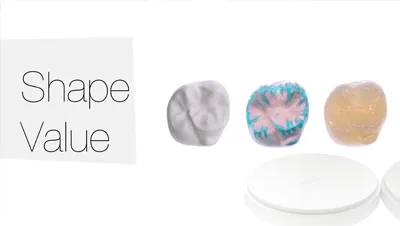
The core ideas behind predictable digital design. Natural means efficient, design means selecting and positioning natural libraries rather than waxing up, and monolithic restorations keep the design one to one.
9 chapters
- Natural means efficient
- Biometrics in design
- Wax-up or denture logic
- Design like flat-pack furniture
- Select, scale, position
- Design as an XYZ equation
- Why monolithic
- Measuring efficiency after milling
- Plan like an architect
05 The happy path23 min
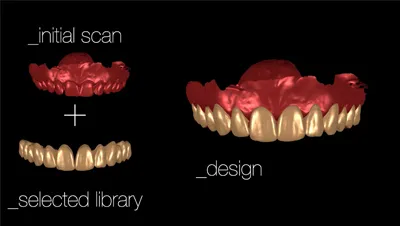
The ideal workflow for monolithic restorations, in order: 2D smile design, a 3D library, an additive motivational mock-up, then a final design that every guide and prep refers to.
8 chapters
- 2D first
- Easy variables first
- Libraries and rendering
- Selection over modification
- The motivational design
- Motivational versus final design
- A case with bottlenecks
- Planning orthognathic surgery
06 Bottlenecks23 min
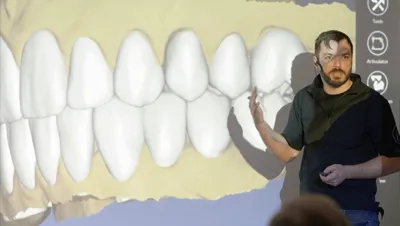
A harder case to show the common bottlenecks: orthognathic surgery, occlusion designed on recorded jaw motion, a crown lengthening mistake, and dark substrates masked before the monolithic ceramics.
10 chapters
- Decompensation and surgery
- Library and recorded motion
- Designing occlusion in CAD
- Jaw tracking and articulators
- Motivational mock-up as a check
- A crown lengthening mistake
- Masking dark substrates
- Staining inside the restoration
- Grafting to mask tissue colour
- Result and the patient
07 Deciding what to extract17 min
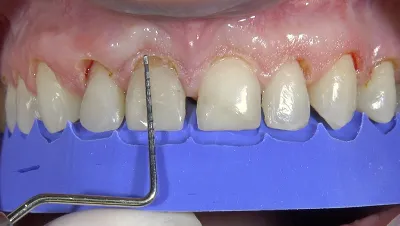
The team goes through the plan: extract one lateral now and the central three months later, to keep the interproximal tissue. Then a mock-up with pink composite, and crown lengthening that spares the papillae.
6 chapters
- Plan for the session
- Reviewing the documentation
- Deciding what to extract
- Mock-up from the motivational model
- Guided flapless crown lengthening
- Retraction cord after surgery
08 Scanning halfway22 min
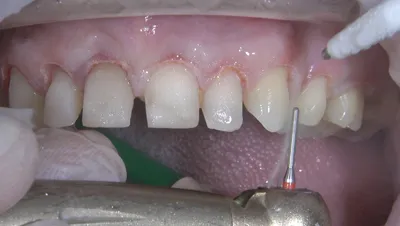
Florin preps the case for the next day's surgery. A quick pre-prep through the guide, a scan halfway to check the space on screen, then the final prep and a new scan for the implant guide.
7 chapters
- Checking space with the guide
- Pre-prep for space
- Preliminary scan
- Placing cords
- Reading the scan
- Why scan halfway
- Final scan for the implant guide
09 A guide on the preps19 min
About 30 hours after the preps, the tissue is already healing around the PMMA. Gustavo and Marcelo extract the lateral and place a 3.3 mm MIS V3, leaving a buccal gap of over 2 mm.
8 chapters
- Healing around the PMMA
- Implant plan and guide
- Ti-base or provisional cylinder
- Removing the provisionals
- Gentle extraction
- Seating the guide
- Guided drilling and placement
- Position, gap and scan
10 Chairside in 15 minutes12 min
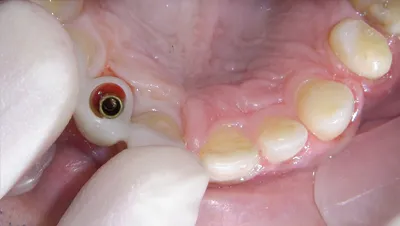
Two ways to provisionalize the implant. Gustavo shows the chairside one: a provisional cylinder captured in the lab's PMMA shell with flowable composite, opaqued with Tokuyama OPA2 and reshaped only in the subcritical zone.
5 chapters
- Trying the provisional cylinder
- Shortening and opaquing
- Capturing the position
- Finishing on an analog
- Provisional in place
11 The same donor site18 min
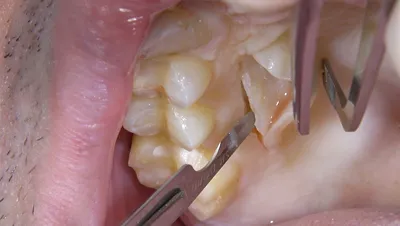
Gustavo harvests a small graft with the linear incision technique from the palatal site used about 90 days earlier, then opens a tunnel over a convex buccal bone and flattens the bone at the canine.
4 chapters
- Harvesting from a previous site
- Suturing the donor site
- Tunnel over convex bone
- Flattening the bone at the canine
12 Finale14 min
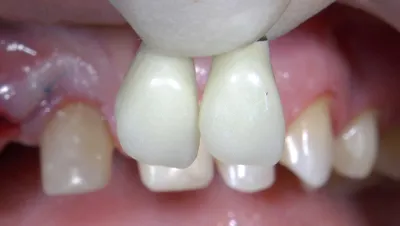
The graft and biomaterial go in, and the lab provisional on a ti-base is compared with the chairside one. The first part of the case is finished at the provisional stage.
5 chapters
- Graft in and sutured
- Biomaterial in the gap
- Lab versus chairside provisional
- Sutures toward the provisional
- No contact on the implant
Watch Signature Workflows and the whole library
One pass, €360 every 6 months: every Dentcof series and season, on any device. Cancel anytime.
Already a member? Log in