

RAW
Monolithic restorations in a complete digital workflow, shown on live cases from design to bonding, with the clinical details of each case.
€360 every 6 months · Log in
Season 6 · 2026 · 6 episodes
Old restorations, wear and a class II
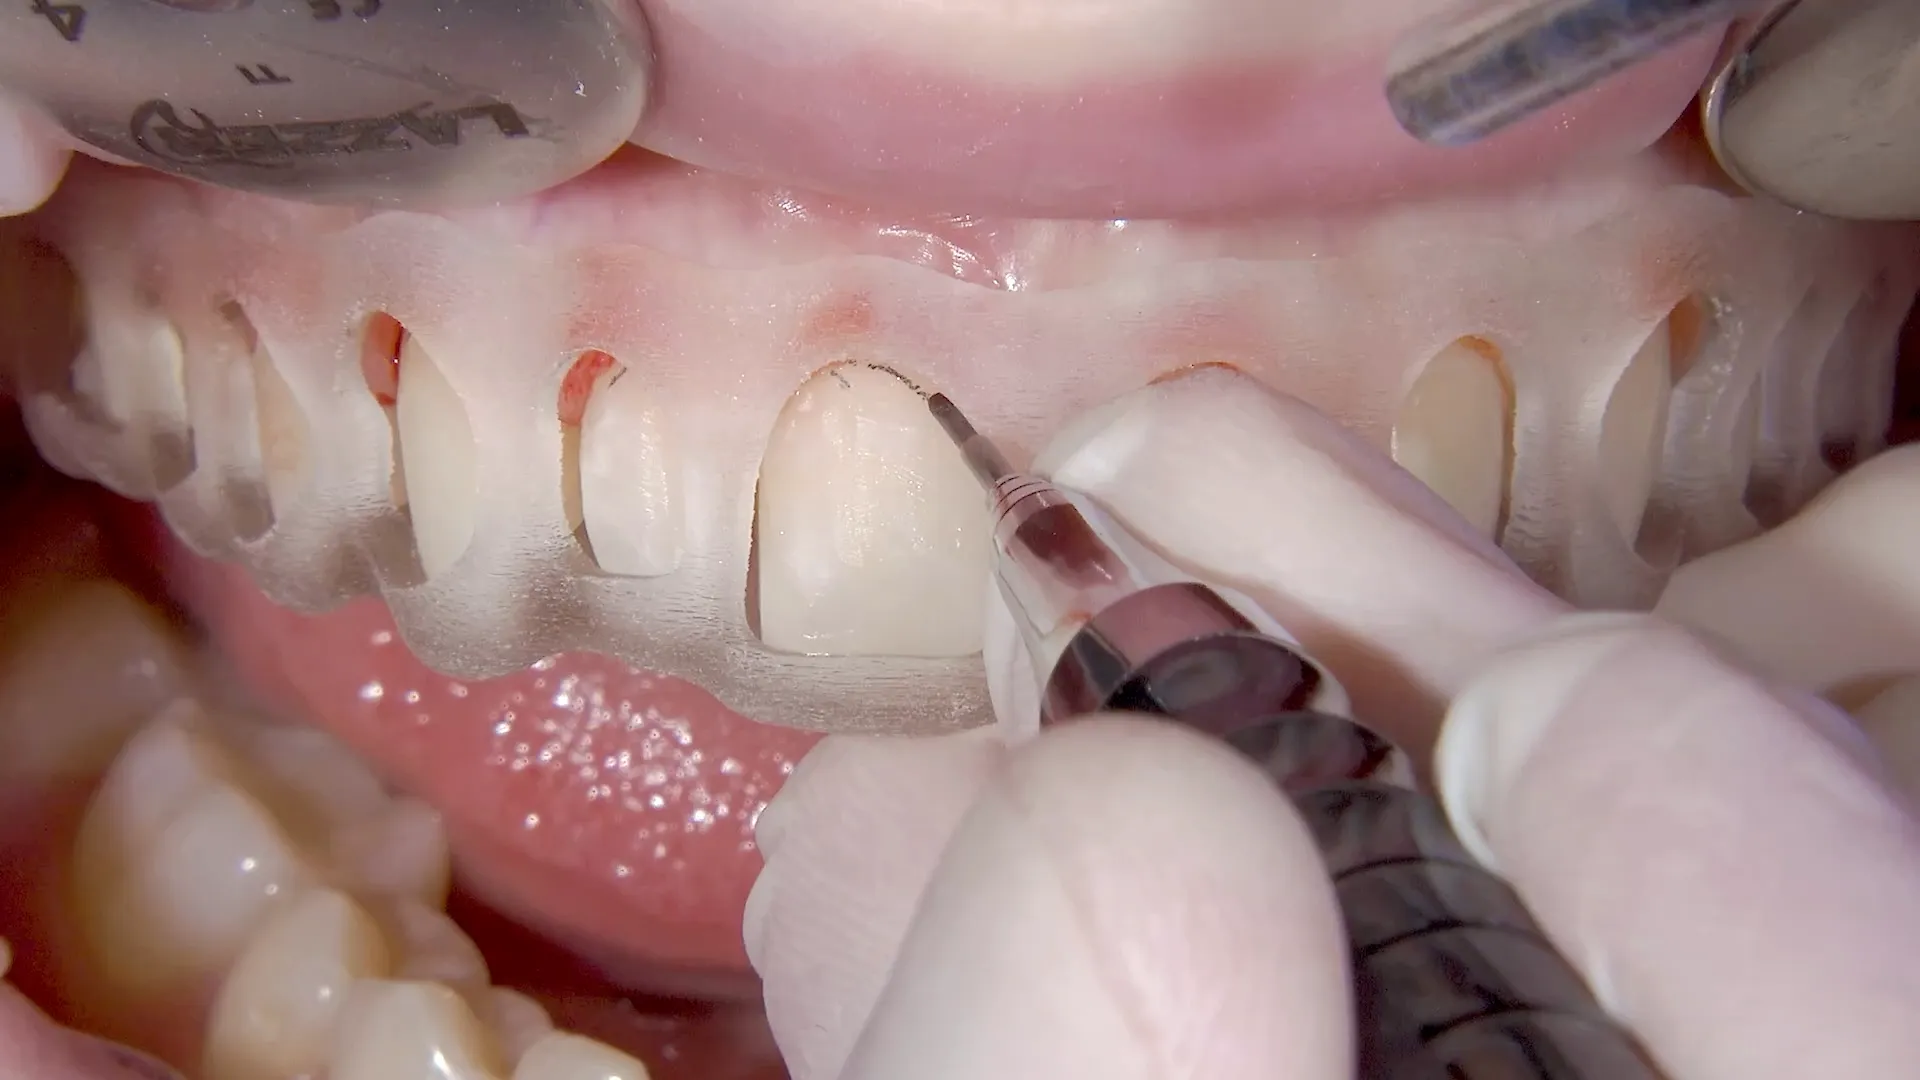
A young patient with old composites, wear with passive eruption and an extruded anterior front in a class II. The upper arch is restored seven to seven in IPS Empress CAD, with flapless crown lengthening on the centrals and a premolar recession managed along the way.
- Heat map rescanned mid-prep, no silicone key
- Integrated design
- A recession from lost canine guidance
01 The copy line14 min
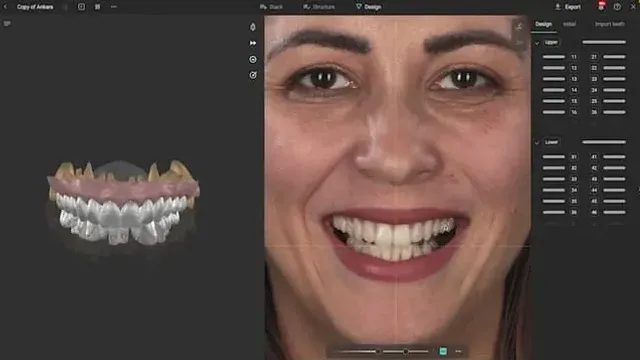
Going through the case: old restorations, wear with passive eruption, an anterior front extruded in a class II. Opaque composites placed with spaces left open, and the copy line: the shape you choose only exists if the prep can land there.
7 chapters
- Meeting the patient
- Reading the initial situation
- Documentation and smile design
- Composites made for the prep
- Aesthetics and identity
- The copy line
- Where the margin can land
02 Tissue first14 min
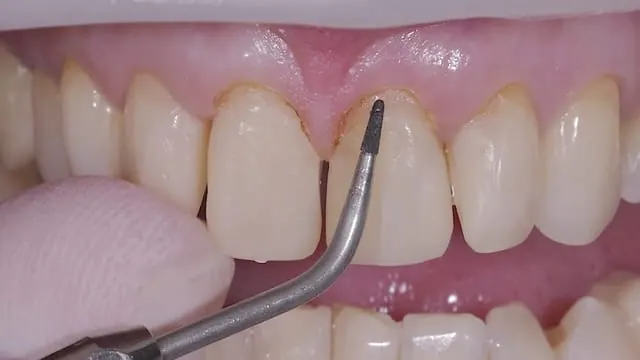
The roadmap for the upper arch: guide, tissue, bone, separations, incisal reduction, then a heat map set to 0.7 mm. Florin starts with flapless crown lengthening on the centrals, keeping the papillae concave.
7 chapters
- One design for both arches
- Guide, tissue, then bone
- Heat map instead of a key
- Order of the reduction
- Soft tissue with electrosurgery
- Flapless bone on the centrals
- Correct axis and pre-prep
03 Don't cut yet13 min
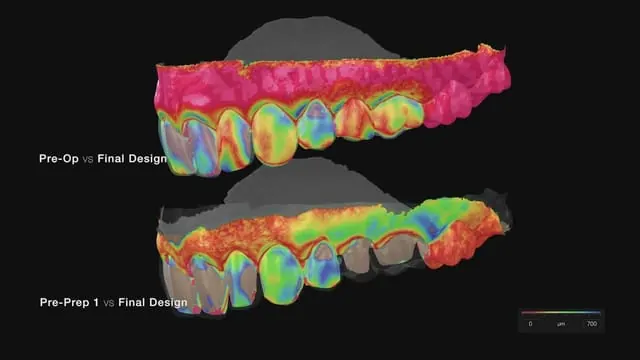
The pre-prep, read off a touchscreen tooth by tooth. Contact points in composite get opened, margins stay off the composite, and one molar waits until the project confirms it needs cutting.
6 chapters
- Pre-prep from the touchscreen
- Opening contacts in composite
- Heat map on the first quadrant
- Where the margin ends
- Don't cut until sure
- Second check on the heat map
04 The chamfer13 min
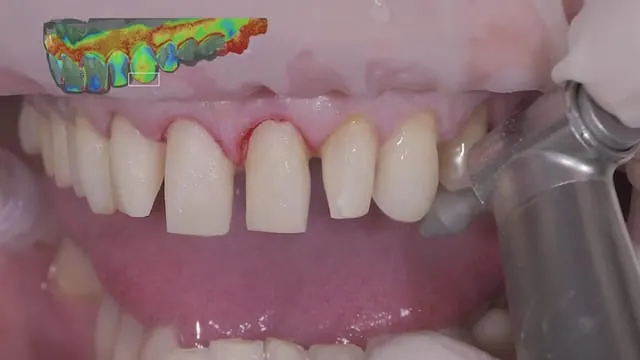
A second scan on the heat map shows what a silicone key would miss: the rounded line angles, the palatal transition, a 0.2 mm spot on the canine. A pulpal groove is left alone. Then cord, pencil line and a classic chamfer bur.
6 chapters
- Second scan on the heat map
- Space left to find
- Last adjustments
- Pencil line and premolar margins
- Choosing the margin type
- Cord and chamfer
05 The recession12 min
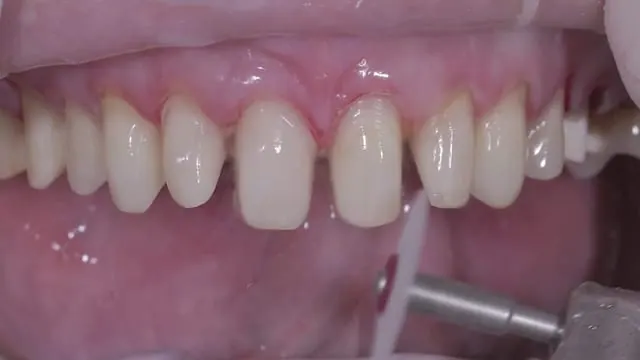
Discs and rubbers to finish, provisionals milled in blocks and checked as a prototype. On a premolar, 1.7 mm of recession and an abfraction point to lost canine guidance. Florin bevels the bone so the tissue can come down.
9 chapters
- Discs for angles and undercuts
- Polishing with rubbers
- Chamfer against the design
- Aligner and milled provisionals
- Provisionals in the studio
- A recession and lost guidance
- Planning the bone bevel
- Bevelling the bone
- The next day
06 Two by two10 min
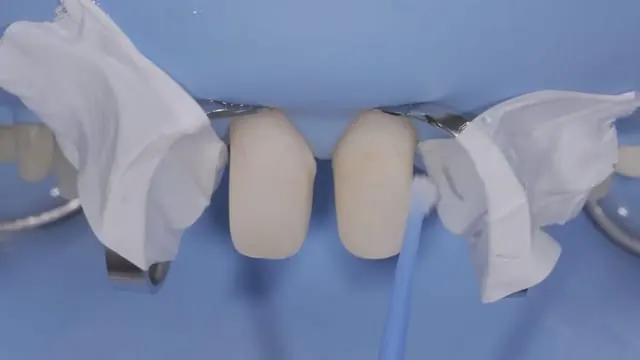
The next day the tissue is fully down on one side, half a millimetre short on the other. Bonding two by two, with metal bands for the neighbours, air against lamp heat and two ways to deal with the cement excess.
4 chapters
- Tissue the next day
- Preparing for the bonding
- Two ways to remove excess
- Two by two under air
Season 5 · 2025 · 6 episodes
Inverted smile curve with wear
A worn dentition with an inverted smile curve, restored with monolithic ceramics finished without staining.
- Ceramics finished with no stain
- Worn teeth, inverted curve, no ortho
- Prep relief for the incisal opalescence
01 In simple words24 min
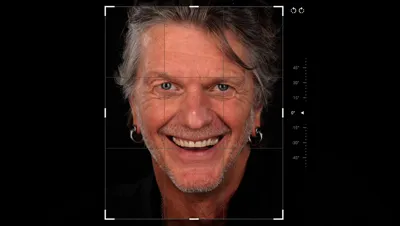
Looking at the case: wear that is not physiological, roots tilted palatally, ortho excluded. Navigating complexity, avoiding dogmas such as the bipupillary line, and using common sense in the diagnostic phase.
12 chapters
- Plan the whole case first
- Portraits, scans and CT
- Reading the worn dentition
- Two compromises without orthodontics
- Design around the hardest element
- Case history and starting from the face
- Facially generated planning
- Reference plane in the software
- Glabella and philtrum, not the eyes
- Midline and the two curves
- Attached gingiva and the CEJ
- Aesthetic versus biological goal
02 Between two curves29 min
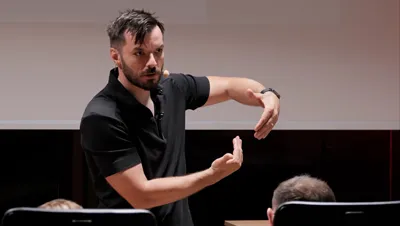
What to look at when designing: the biological limit above, the functional one below, and a central between 10 and 11 mm. A pragmatic, step-by-step design process, contextual to the case and the patient.
12 chapters
- Limits between the two curves
- Proportions and culture
- Calibrating the central
- Vertical position and wear risk
- Anatomy and the patient's identity
- Choosing the central's anatomy
- Transition lines and lengthening
- Papilla and transition line in 3D
- Papillae and asymmetry
- Motivational mock-up versus final design
- When a physical mock-up fails
- Designing what can be delivered
03 3DNA27 min
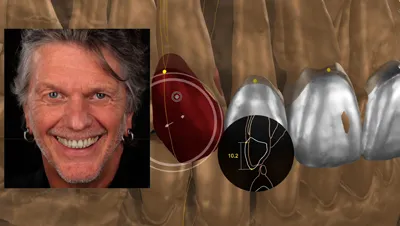
A different perspective through the new Smilecloud 3DNA: designing directly in 3D on the face, with the scan and CT superimposed. Simplicity matters as much as ever as the technology evolves.
10 chapters
- Overlaying CT and scan
- From 2D library to 3D
- New Smilecloud on a single photo
- Automatic alignment and segmentation
- Layered anatomy without an order system
- Real-time design in 2D and 3D
- Canines, lengthening and edits
- Generated jaw movements
- Bone level while lengthening
- Changing the plan and exporting
04 The pink part31 min
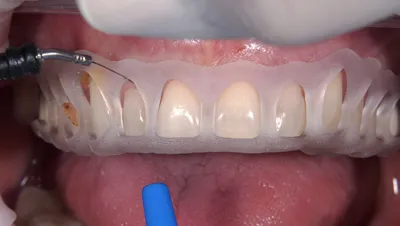
The mock-up is always a special moment, for the patient and the group alike. Emotion is a universal language. Bone comes down only where the tissue was lengthened, even next to mobile gingiva.
11 chapters
- Silicone key and mock-up
- Guided gingival lengthening
- Flapless bone through the sulcus
- Lengthening and space on the design
- Uniform thickness and the pre-prep plan
- Pre-prep of premolars and canine
- Opaque composite build-up
- Pre-prep on the centrals
- Strength versus beauty
- Why ceramics fracture
- Milled and polished, no stain
05 En detail17 min
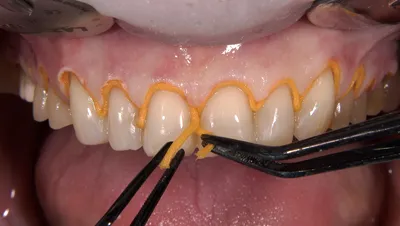
An approach for the area that would otherwise have too much unsupported ceramic. Optimising the optical and physical conditions of the substrate and the future monolithic restorations, down to a subtle relief in the prep for the opalescent edge.
5 chapters
- Pencil line and cord
- Fine margins and burs
- Last scan and the planned bite
- Subtle relief for the opalescent edge
- Retraction pellets and the margin
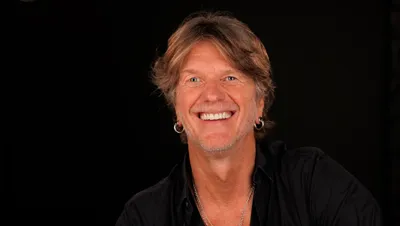
06 No staining12 min
A warm cement under the crowns and overlays, a light one under the thinner veneers. Then the delivery, over music: how far monolithic ceramic goes with no staining.
2 chapters
- Cement shades by thickness
- Delivery over music
Season 4 · 2024 · 5 episodes
Veneers after orthodontics
Splints and orthodontics with mini plates, then anterior veneers and two tabletops following one digital design.
- Nothing on the centrals, more on canine
- Two tabletops, total etch on enamel
- Early view of 3DNA
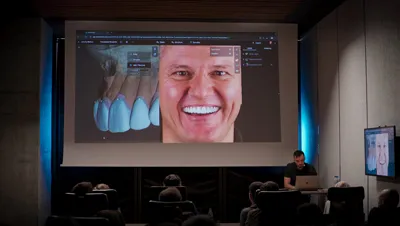
01 The big picture27 min
Context for the treatment, clinical and personal: from splints, skeletal ortho and mini plates to where we are today. Then the focus shifts to the upcoming treatment: how visualization and multi-layer anatomy shape the design, and what the plan is.
8 chapters
- Starting point and symptoms
- Splints, ortho and mini plates
- Smile design on the photo
- Adding scans and CBCT
- Central length and axis
- Positioning the other teeth
- Technician design and prep plan
- Measuring deviation from the plan
02 Tailored magic12 min
Balancing aesthetics, the urge to change, with identity, the urge to preserve. Then the mock-up, with a dentist as the patient; the buccal corridors are the hardest part to mock up.
6 chapters
- Design and reduction map
- Motivational and final models
- Buccal corridors limit the mock-up
- Index and mock-up material
- Seating and trimming the mock-up
- Pink composite and black marking
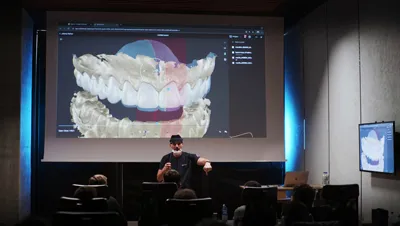
03 Functional, biological and structural considerations16 min
Functional aspects in detail, the structural logic of adhesive dentistry and the prosthetic management of biology. Then the team double-checks the execution roadmap together: guide, tissue, bone, separations, and a heat map for the pre-prep.
8 chapters
- Presenting the design to the patient
- Where the case started
- Composites before the prep
- Clinical sequence
- Heat map for the pre-prep
- Chipping and occlusion
- Dentin stress and sealing
- Smooth thickness transitions
04 Nothing on the centrals22 min
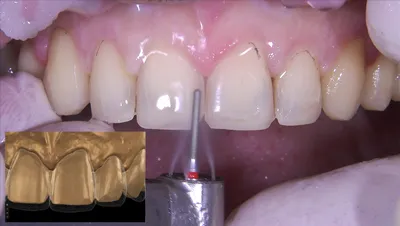
A meticulous, staged reduction phase. A small guided crown lengthening, then a pre-prep read off the heat map, nothing on the centrals and more on the canine, making sure the technician has the space before any polishing.
5 chapters
- Guide seating and soft tissue
- Pre-prep following the design
- Checking space before finishing
- Cord and chamfer
- Provisional retention
05 Happy Finale17 min
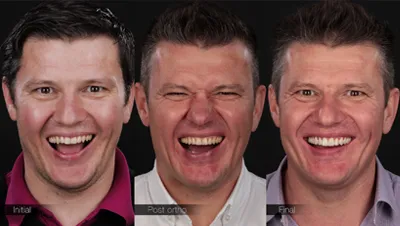
Try-in with paste before anaesthesia, for the photos. Total etch on enamel, then two operators bond, each checking the other's side. A classic that is always nice to witness, even for us.
6 chapters
- Curing heat and try-in
- Why the design fits him
- Etching and bonding on enamel
- Excess removal and fit check
- Cross-checking while bonding
- Closing thoughts
Season 3 · 2024 · 13 episodes
Asymmetric laterals after orthodontics
A young dentist with one wide and one peg-shaped lateral, treated with guided crown lengthening and monolithic veneers.
- Papilla limits how far space moves
- Mock-up seen in mirror and on screen
- Heat map at 0.5 mm
01 Morning Coffee20 min
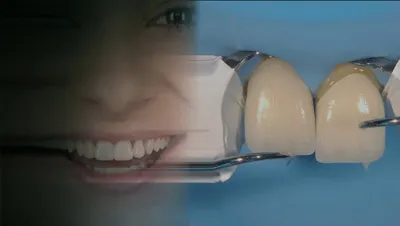
Setting the context for the course: a pragmatic way to use digital technology for consistent results. Plan top down, execute bottom up, with Frank Spear's facially generated treatment planning and a house built by an architect as references.
7 chapters
- Pragmatic digital dentistry
- Plan top down, execute bottom up
- From 2D to the sagittal axis
- Tooth libraries as the unit of design
- The baseline case
- Standard documentation set
- Fast smile design from the face
02 Where do I start?25 min
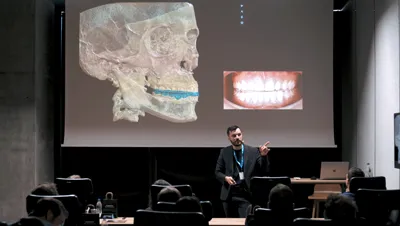
A simple question with many confusing answers when it comes to a rehabilitation. New technology changes the old narratives. The motivational design is a communication tool, never a prep guide.
7 chapters
- Motivational design for the mock-up
- Why not prep through it
- Treatment plan equals design
- Full planning after the yes
- Deciding whether to change occlusion
- Splints as reversible iterations
- Fail fast with segmented CBCT
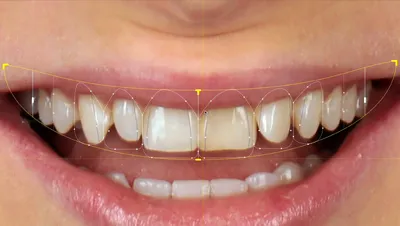
03 The roadmap19 min
Going through a similar 'happy path' case step by step. The sequence, and a few notions worth naming: simultaneous execution, guided tissue reduction, and uniform ceramic thickness as the goal of the prep.
7 chapters
- From virtual plan to executables
- Simultaneous surgery and prep
- Uniform thickness and correct margins
- Natural anatomy and healing on finals
- The live patient
- Smile design grid decisions
- Cervical line and biology
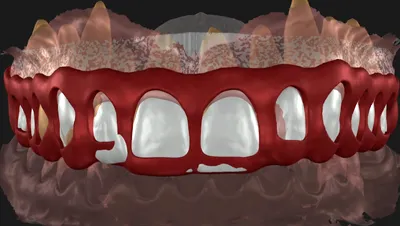
04 The plan19 min
Getting specific about the case to be treated, and adding depth to the design process: the papilla as the limit when redistributing space, and the balance between aesthetics and the patient's identity.
7 chapters
- Space distribution and papilla limits
- Biology first, culture after
- Balancing aesthetics and identity
- Keeping the design achievable
- One shared project for the team
- Diagnostic and final models
- Measuring before treatment
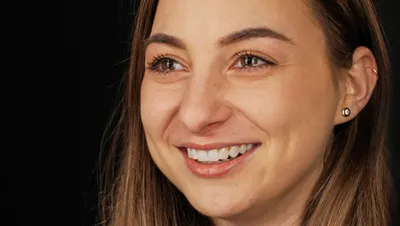
05 The 80%23 min
Design becomes an experience: the mock-up, a brief glimpse, then her reaction on video. The bone is set with a 3 mm tip checked on the CBCT, and the prep follows the functional design.
7 chapters
- Two models from one design
- Making the mock-up
- The reveal and the video
- Guided soft tissue cut
- Flapless bone reduction
- Separations before reduction
- Pre-prep of convexities
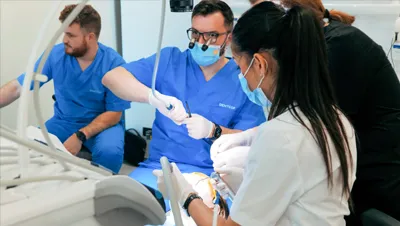
06 The 20%19 min
A digital alternative to APT and the silicone guide: a thickness heat map set to 0.5 mm shows where to reduce. Then the final preparation, step by step: cord, pencil line from the tissue guide, chamfer, polish.
5 chapters
- Heat map check of the pre-prep
- Cord packing
- Chamfer from the pencil line
- Scan, polish and refine
- Final scan of the preps
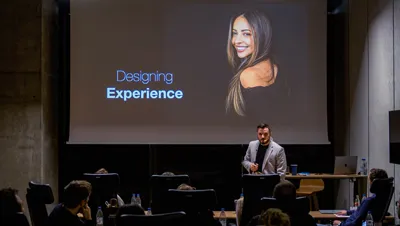
07 The magic moment22 min
Florin starts breaking down the mock-up reveal moment from the previous day, explaining what triggers the patient emotionally. How to turn a design into an experience.
7 chapters
- Planning, communication, execution
- Getting the right yes
- Revisiting the mock-up reveal
- Smile design and visual narrative
- The clinician as director
- Split brain and perception
- When the mirror goes wrong
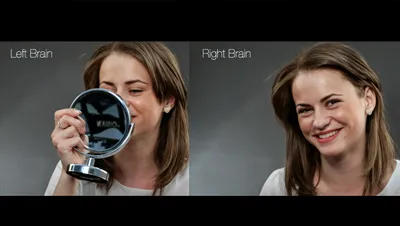
08 Will the color be like this?20 min
Common ways communication with patients goes wrong. The same mock-up seen in a mirror and on a screen, read through the left and right brain.
6 chapters
- Mirror versus screen
- How the analytical brain reacts
- Beauty has to be experienced
- Decisions in the first seconds
- Only one first reaction
- Expectation and experience

09 The path to meaning22 min
How to consistently create a good patient experience, broken down to details: a first appointment that only talks about the problem, video in the documentation, and contrast as the source of meaning and memorable moments.
6 chapters
- Contrast creates meaning
- First visit: only the problem
- Video reveals the mask
- Second visit: show the solution
- Mock-up and before-after video
- Music and silence
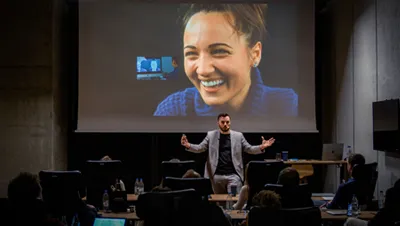
10 The art of perception19 min
The small details and the sequence of events behind a memorable experience: a half-second glimpse before the video, mirror neurons, and treating only the patients who fit your values.
6 chapters
- Lip sync and mirrored mimics
- The one-second glimpse
- Mirror neurons and sequence
- Motivation versus cost
- No mirrors until the end
- Choosing whom to treat
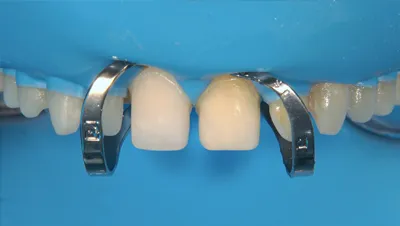
11 The victory lap22 min
Florin and Adrian seat the veneers, the patient checks them in the mirror, and a tight contact is fixed with a disc before bonding.
5 chapters
- Try-in and insertion order
- Patient sees the result
- Rubber dam and clamps
- Etch, bond and glycerin
- Fixing an insertion problem
12 Behind the line angles26 min
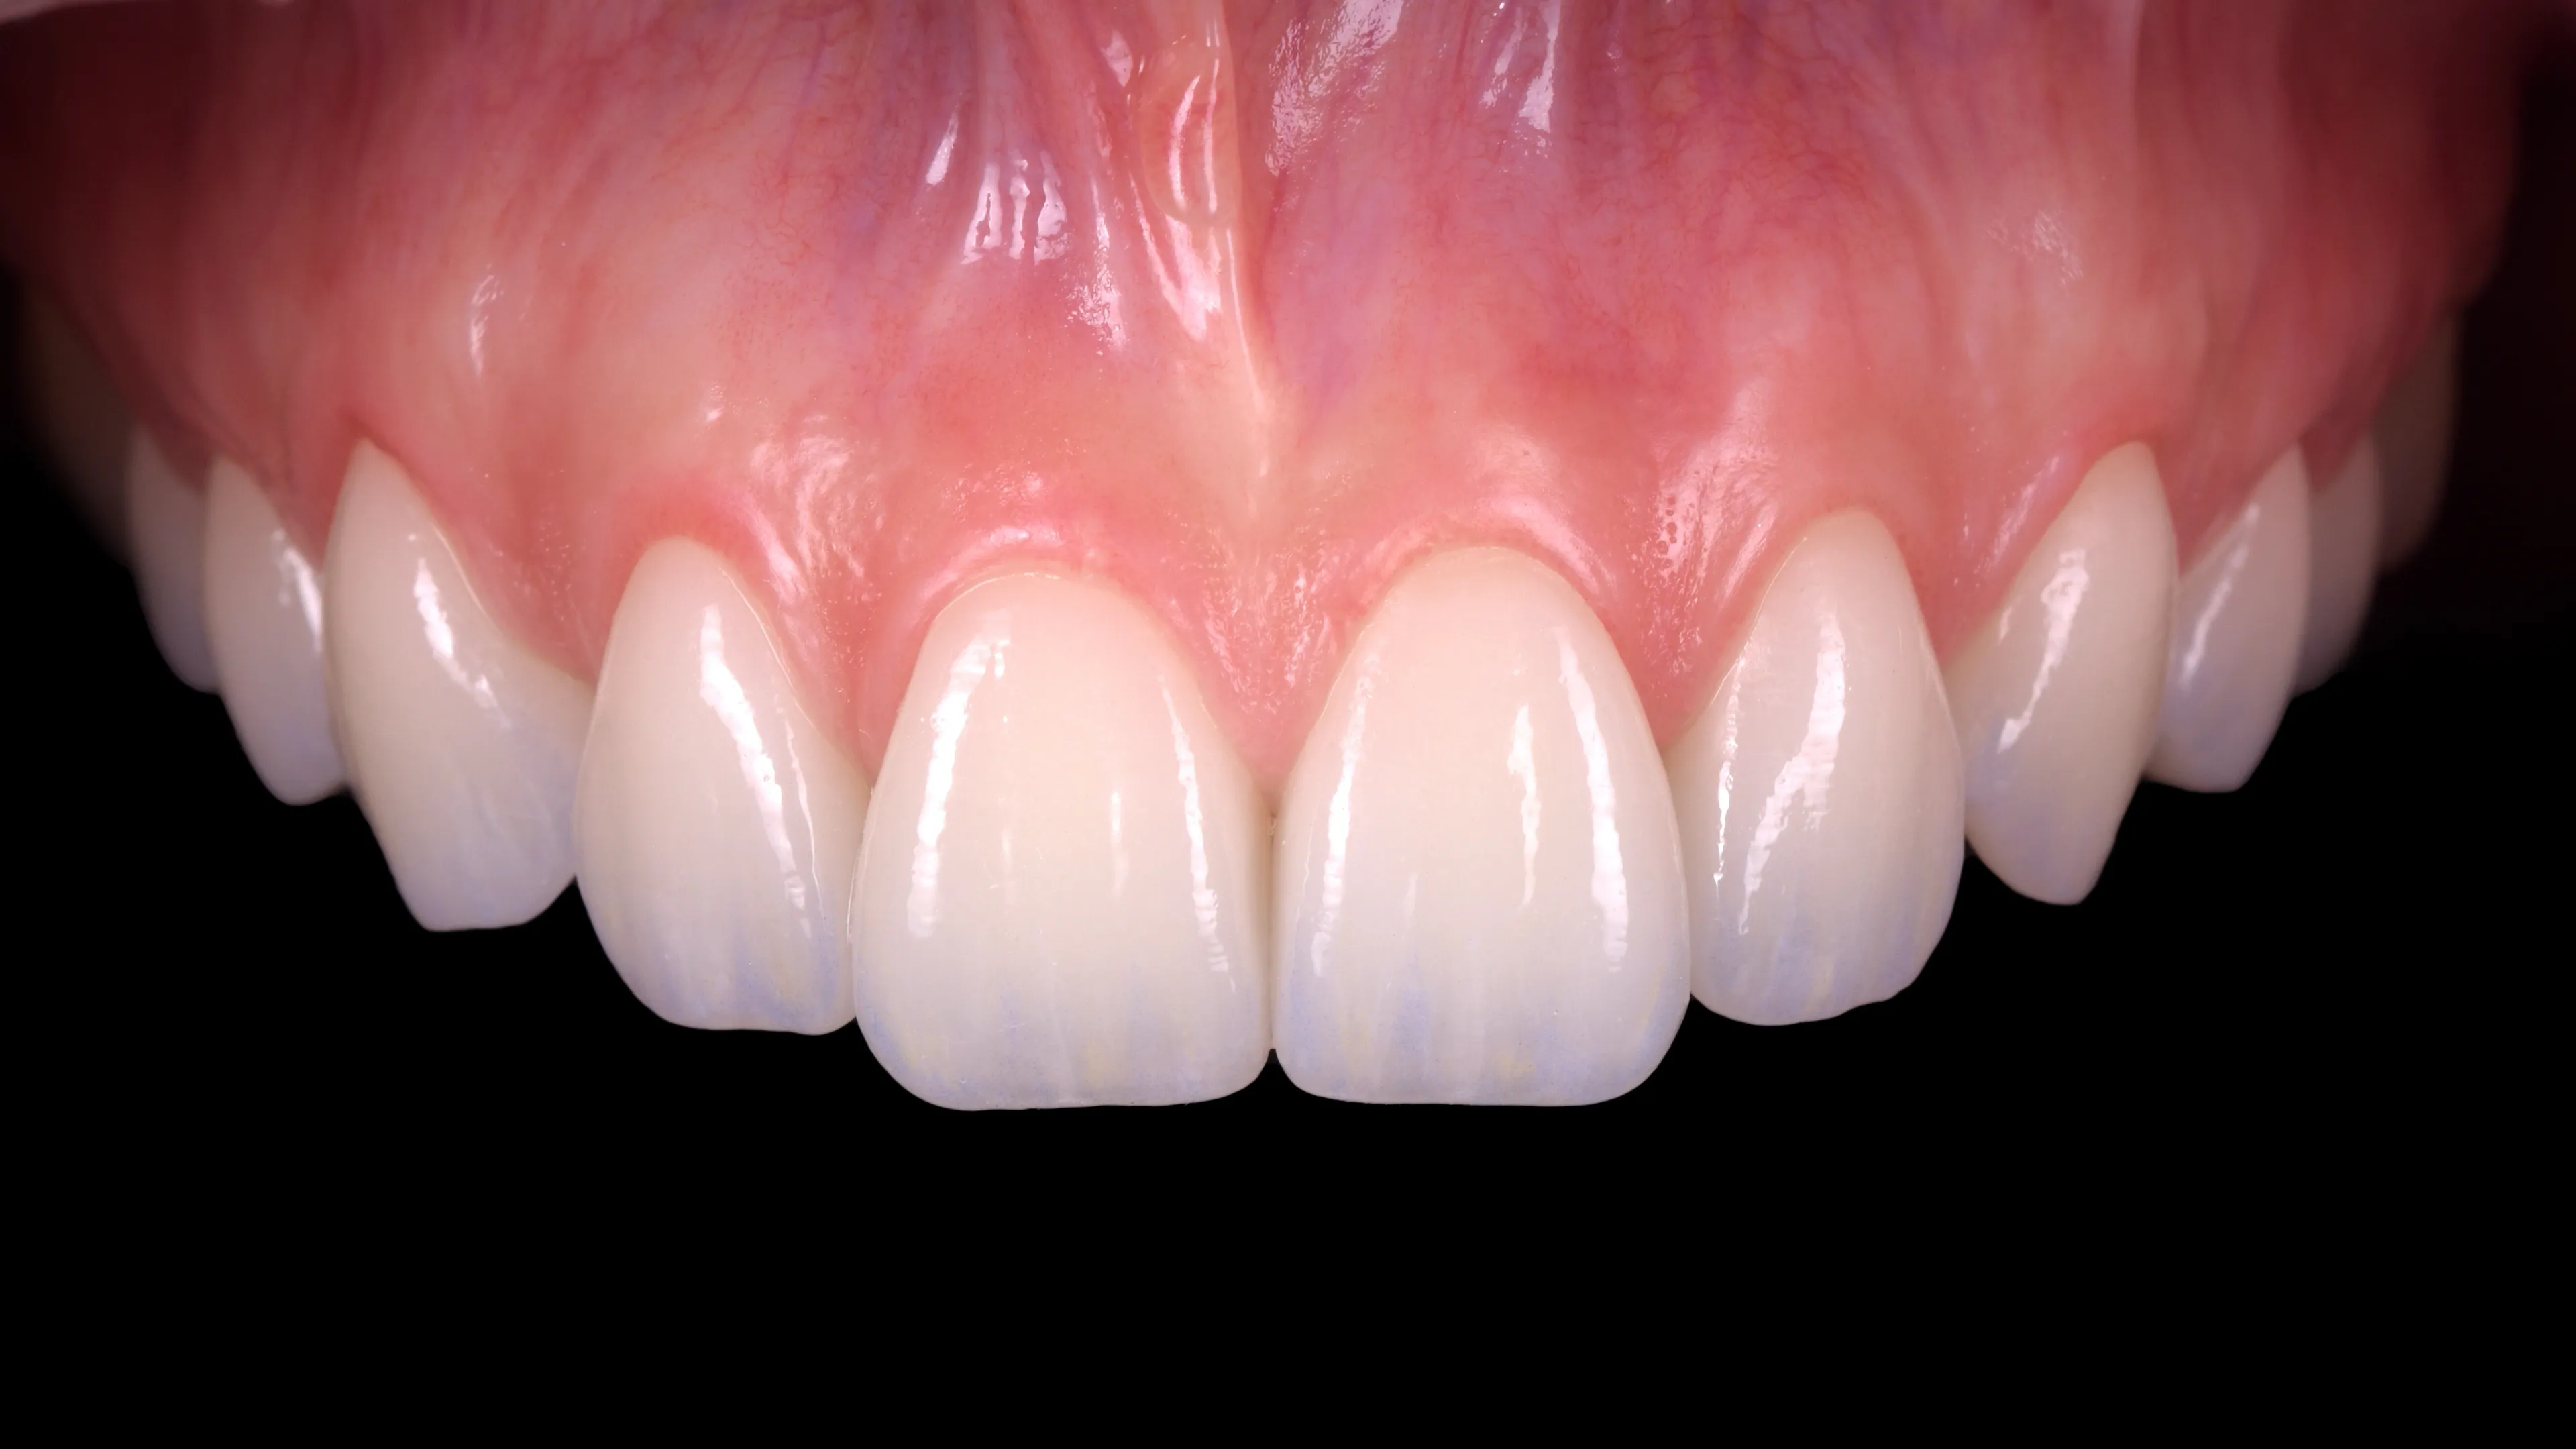
A recap of the workflow on another dentist treated in the previous course. The same steps once again, with the key points stressed: line angles, the papilla relationship and prosthetically guided healing.
7 chapters
- Monolithic and biometric anatomy
- Recap case and mock-up
- Guided electrosurgery
- Bone reduction and pre-prep
- Heat map, cord and chamfer
- Uniform thickness and fracture
- Try-in, bonding and healing
13 Finale21 min
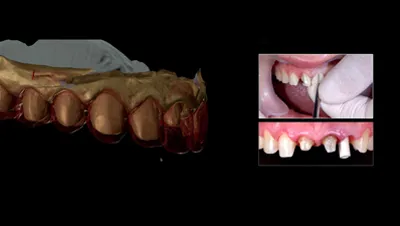
Bottlenecks and edge cases, and how more complex interdisciplinary scenarios are managed, such as a case where the mock-up revealed that crown lengthening would fail and intrusion was the answer. Then the final result of the live case and how it healed.
7 chapters
- A referred edge case
- Problem found at the mock-up
- Switching to intrusion
- Relapse, ageing and CBCT superimposition
- Roots, implant and same anatomy
- Dark abutments and provisionals
- Material choice and final result
Season 2 · 2024 · 5 episodes
Gummy smile and a dark central
Guided crown lengthening and monolithic restorations after orthodontics: a gummy smile, a cant and a dark central incisor.
- Molars reduced to collapse the bite
- Mock-up with pink composite, black marker
- Flapless bone on mesial root only
01 The challenges23 min
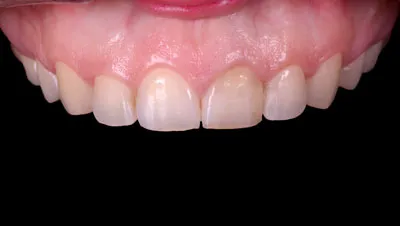
A post-ortho case that looks easy at first glance: a gummy smile and a discolored central. Florin goes through the planning from scratch, from picking the widest smile photo to smile design and anatomy selection.
7 chapters
- The case and its challenges
- Picking the photo and AI steps
- Midline and colour sampling
- Limits of crown lengthening
- Incisal edge and central length
- Choosing a feasible morphology
- Mock-up versus virtual design
02 Planning and more planning15 min
Making the planning visual. In the 3D project, the DICOM answers the crown lengthening questions upfront: enamel or dentin, flap or flapless. The functional design adds a twist: reducing the molars to collapse the bite and gain canine contact.
6 chapters
- Knowing before cutting
- The aesthetic plan
- Collapsing the bite for contacts
- Centric relation and pulp distance
- Bone thickness and flap choice
- Diagnostic versus functional design
03 Clarity in execution16 min
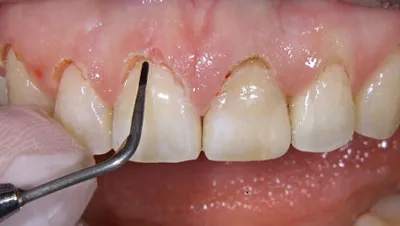
The team does the mock-up, with pink composite and black marker to simulate the final, then reduces tissue and bone with few, clean movements, measuring on screen instead of a silicone key.
7 chapters
- Mock-up with a two stage key
- Pink composite and tissue illusion
- Black marker and video scaling
- Guided tissue reduction
- Flapless bone reduction
- Reduction without a silicone key
- Separations and flattening
04 Scan before chamfer16 min
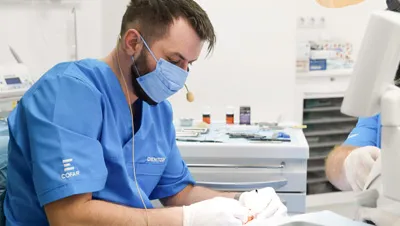
A rough pre-prep, then a scan superimposed on the plan checks the crown lengthening and the 0.5 to 0.6 mm buccal space monolithic ceramics need. Cords and chamfers come last.
6 chapters
- The scan is the model
- Rough reduction and flattening
- Removing composites and contacts
- Superimposing the pre-prep scan
- Space for monolithic ceramics
- Cords, chamfers and final scan
05 Collapsing the bite9 min
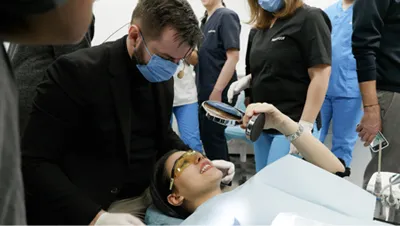
Margins with no visible gap. The last lower molar is reduced to collapse the bite as planned, and composite is added to the canine still short of contact.
4 chapters
- Checking the fit
- Adjusting the lower molar
- Canine contacts
- Cleaning interproximal excess
Season 1 · 2022 · 8 episodes
Congenitally missing laterals
Canine substitution with orthodontics, posterior implants and monolithic restorations for a patient missing both upper laterals.
- Canines become laterals, premolars canines
- Flapless bone with a 3 mm tip
- Milled PMMA provisionals
01 The castling23 min
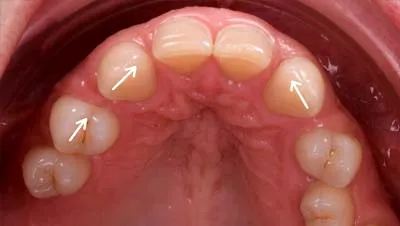
Going through the problems of a congenitally missing laterals case. Instead of the classic implants in lateral position, the team closes the spaces: canines become laterals, premolars become canines.
8 chapters
- The case: missing laterals
- Two treatment options compared
- Smile design from the face
- Midline and proportions
- Choosing morphology for substitution
- Turning a canine into a lateral
- Root reduction during ortho
- Guided implants and progress checks
02 Start with the face25 min
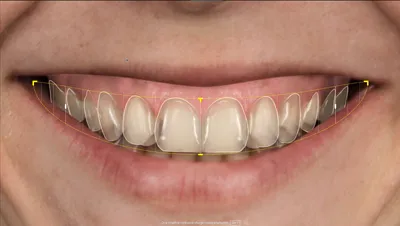
Starting with the end in mind, Florin explains the smile design process: one multidisciplinary design that becomes the reference for every discipline involved.
8 chapters
- Reading the motivational model
- Exporting the library to CAD
- Aligning the scan to the photo
- Placing and mirroring the library
- Matching the 2D design
- Simulated gingivectomy and roots
- Preparing the model for print
- Silicone keys for the mock-up
03 The mock-up experience20 min
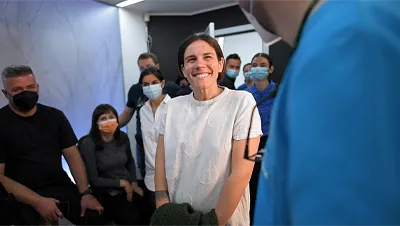
Paul explains how to translate the design from 2D to 3D, and Florin walks Andreea through the mock-up experience.
8 chapters
- Seating the silicone key
- Injecting the bis-acryl
- Setting and removing the mock-up
- Composite touch-ups and contacts
- Black marker for planned reduction
- First picture, then video
- Presenting before and after videos
- Patient feedback and next steps
04 The functional design31 min
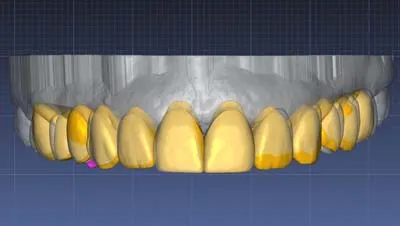
The critical step: Ciu and Florin convert the motivational design into a functional one. Same morphology, only scale and position, matched to roots and bone on the DICOM, then to static and dynamic occlusion.
7 chapters
- Data sets for the functional design
- Checking roots on the CBCT
- Profile first, occlusion second
- Virtual gingival surgery
- Printed crown lengthening guide
- Designing the guide in 3Shape
- Guided electrosurgery
05 The reductive phase29 min
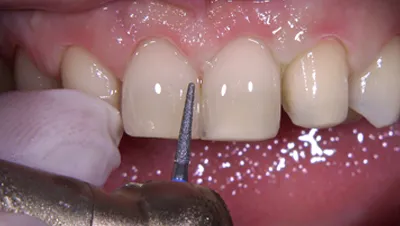
Pre-preparation and final preps, step by step, with the specifics that matter for CAD-CAM. A preliminary scan, superimposed on the design, checks the space before the chamfers go in.
7 chapters
- Flapless bone recontouring
- Hemostasis with retraction cords
- Sectioning to redistribute space
- Technician follows the clinical steps
- Gross reduction through the key
- Prep planes that match the shape
- Preliminary scan to check space
06 The gingival third19 min
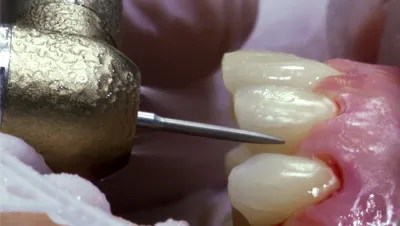
Cords go in only after the contacts are cut, on a clean field right after surgery. A thin cervical chamfer for monolithic optics, a two-cord scan, then a virtual test drive before milling.
7 chapters
- Cords after the contacts are cut
- Turbine and reproducible movements
- Prep thickness and monolithic optics
- Polishing by reading reflections
- Two-cord technique and scanning
- Scanner choice and bite records
- Virtual test drive of the design
07 The CAD22 min
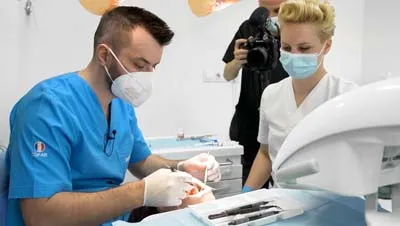
Mihai builds the Geller model, Ciu the final restorations. Milled PMMA provisionals then test-drive the design.
8 chapters
- Model with implant analogs
- Copying the transmucosal profile
- Gingival mask and prep check
- Margins and restoration design
- Prepping to the design
- Contacts and milling output
- Milled PMMA as a test drive
- Seating and reading the provisionals
08 Materialize27 min
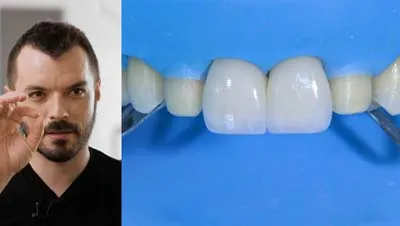
Ioana adds the final touches in the lab. Florin and Adrian bond in tandem, two by two, after a slight misfit on a central at the dry fit is solved with a disc.
7 chapters
- Staining in the lab
- Assistants prepare the ceramics
- Isolation and bonding sequence
- Placing the rubber dam
- Sandblasting and dry fit
- Air cooling while curing
- Tandem bonding with two dentists
Watch RAW and the whole library
One pass, €360 every 6 months: every Dentcof series and season, on any device. Cancel anytime.
Already a member? Log in